Tortoise SVN and SVN Server Simple Tutorial
This time we will learn to use SVN Server which is used by many software developers in the world that is Tortoise SVN and SVN Server. In order to handle source code in large software development required a tool to unify the work rather than programmers, the tool is Subversion Server.First we have to download Tortoise SVN SVN Client and Visual SVN Server.
Then you must installing Tortoise SVN Client first, first run the package Tortoise by double click, then select the next button until finish.
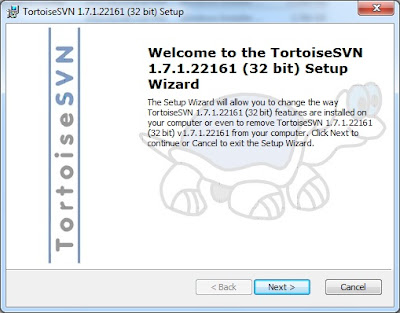
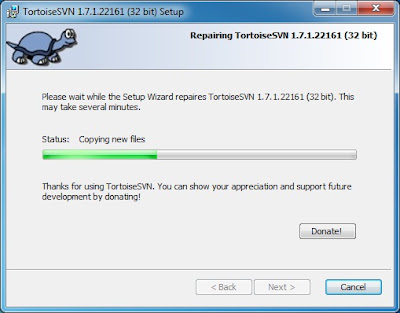
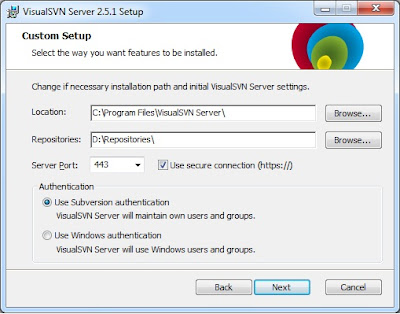
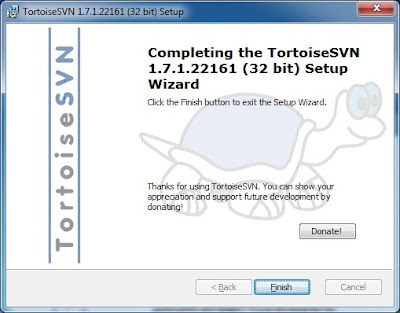 Then install SVN Server, like below:
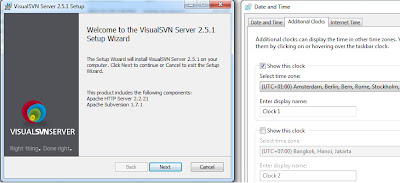 Select Options VisualSVN Server and Management Console
Choose the installation location and the location of the drive to repositories, the server use port 443 and checked option Use Secure Connection (https://), and always use authentication for the security of your source code.
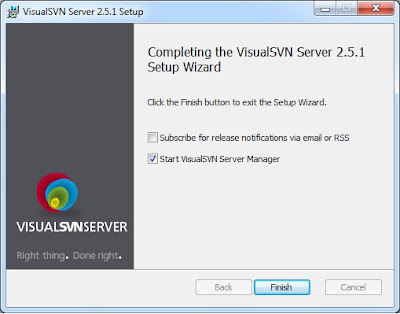
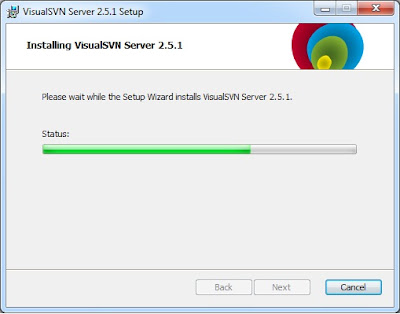 After finish run VisualSVN Server Manager.
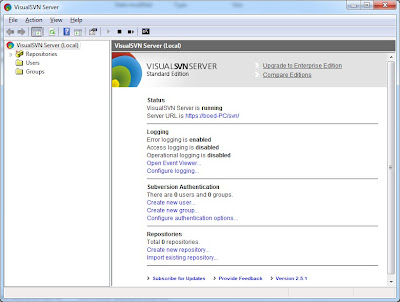 Then create a user by right clicking the icon Users
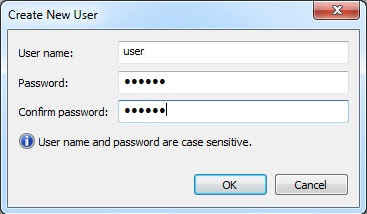 Create a user name for all of the programmers / coder who is involved in your project
Create an empty folder of work which will be imported to the server, by right-clicking the folder and select Tortoise SVN, then select Create repository here, after completion. Create also the same folder in the SVN Server, as shown below:
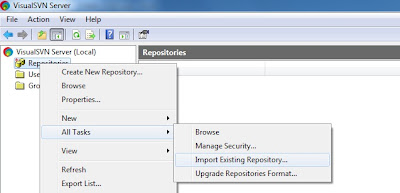
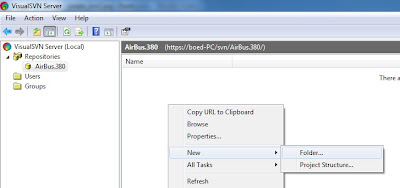 Then import from an existing repository, by right-clicking the Import Existing Repository
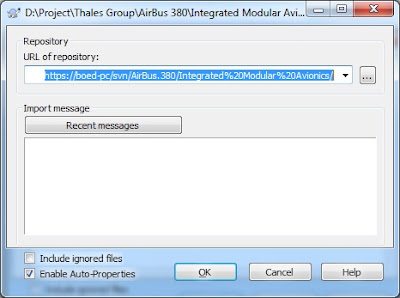 Enter your username and password
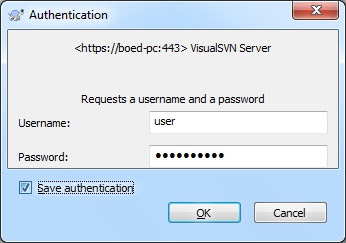
Wait until the import process from a local folder to the server is complete.

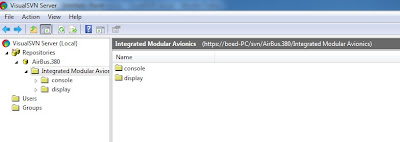
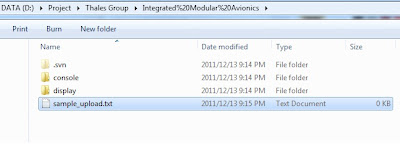
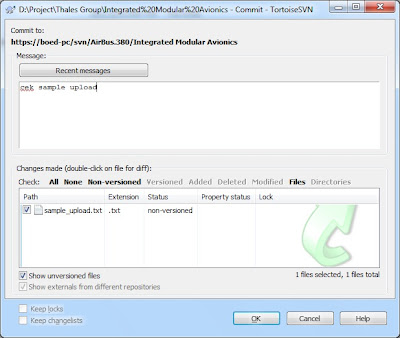
As an experiment whether the SVN server is functioning properly, we will create one file, for example sample_upload.txt, in a local folder, then we will send / upload / commit the file to the server.
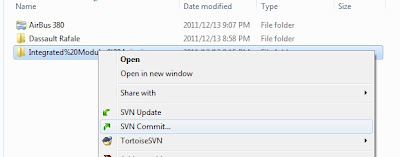
Then fill the message box, with revision information, you can also choose file which will be uploaded / commit, after completion of select, OK.
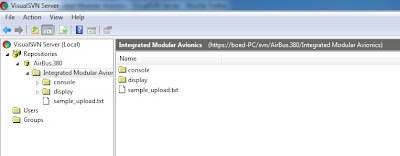
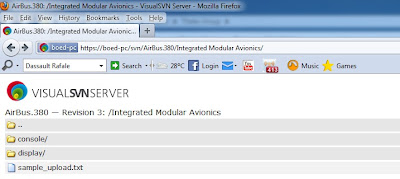
 You can see on the SVN server, that sample_upload.txt file has been sended to the SVN Server.
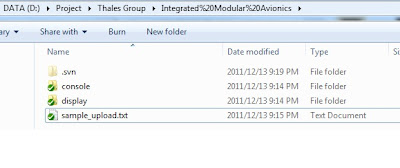
SVN Client side also checked mark will appear green, which means the file or folder that is already filled with the latest version of the file.
 I hope this simple tutorial can help you, for more detailed tutorial you can download here and here for Visual SVN server tutorial, with a variety of language that matches your country.


Then fill the message box, with revision information, you can also choose file which will be uploaded / commit, after completion of select, OK.
 You can see on the SVN server, that sample_upload.txt file has been sended to the SVN Server.

SVN Client side also checked mark will appear green, which means the file or folder that is already filled with the latest version of the file.
 I hope this simple tutorial can help you, for more detailed tutorial you can download here and here for Visual SVN server tutorial, with a variety of language that matches your country.
Labels: SOFTWARE, SVN Server, TIPS, Tortoise, Tutorial


0 Comments:
Post a Comment
<< Home